Vintage Halloween Ornament
Welcome to Day 19 of 31 Days of Halloween Crafts! Today we’re making a vintage style Halloween ornament out of paper.
Materials:
- tissue paper
- small Halloween image
- string
- glue
Cut a rectangle of crepe paper that is the diameter you want for your ornament. Make sure the length is about 2 and a half times the width so that it will make a complete circle when we unfold it.
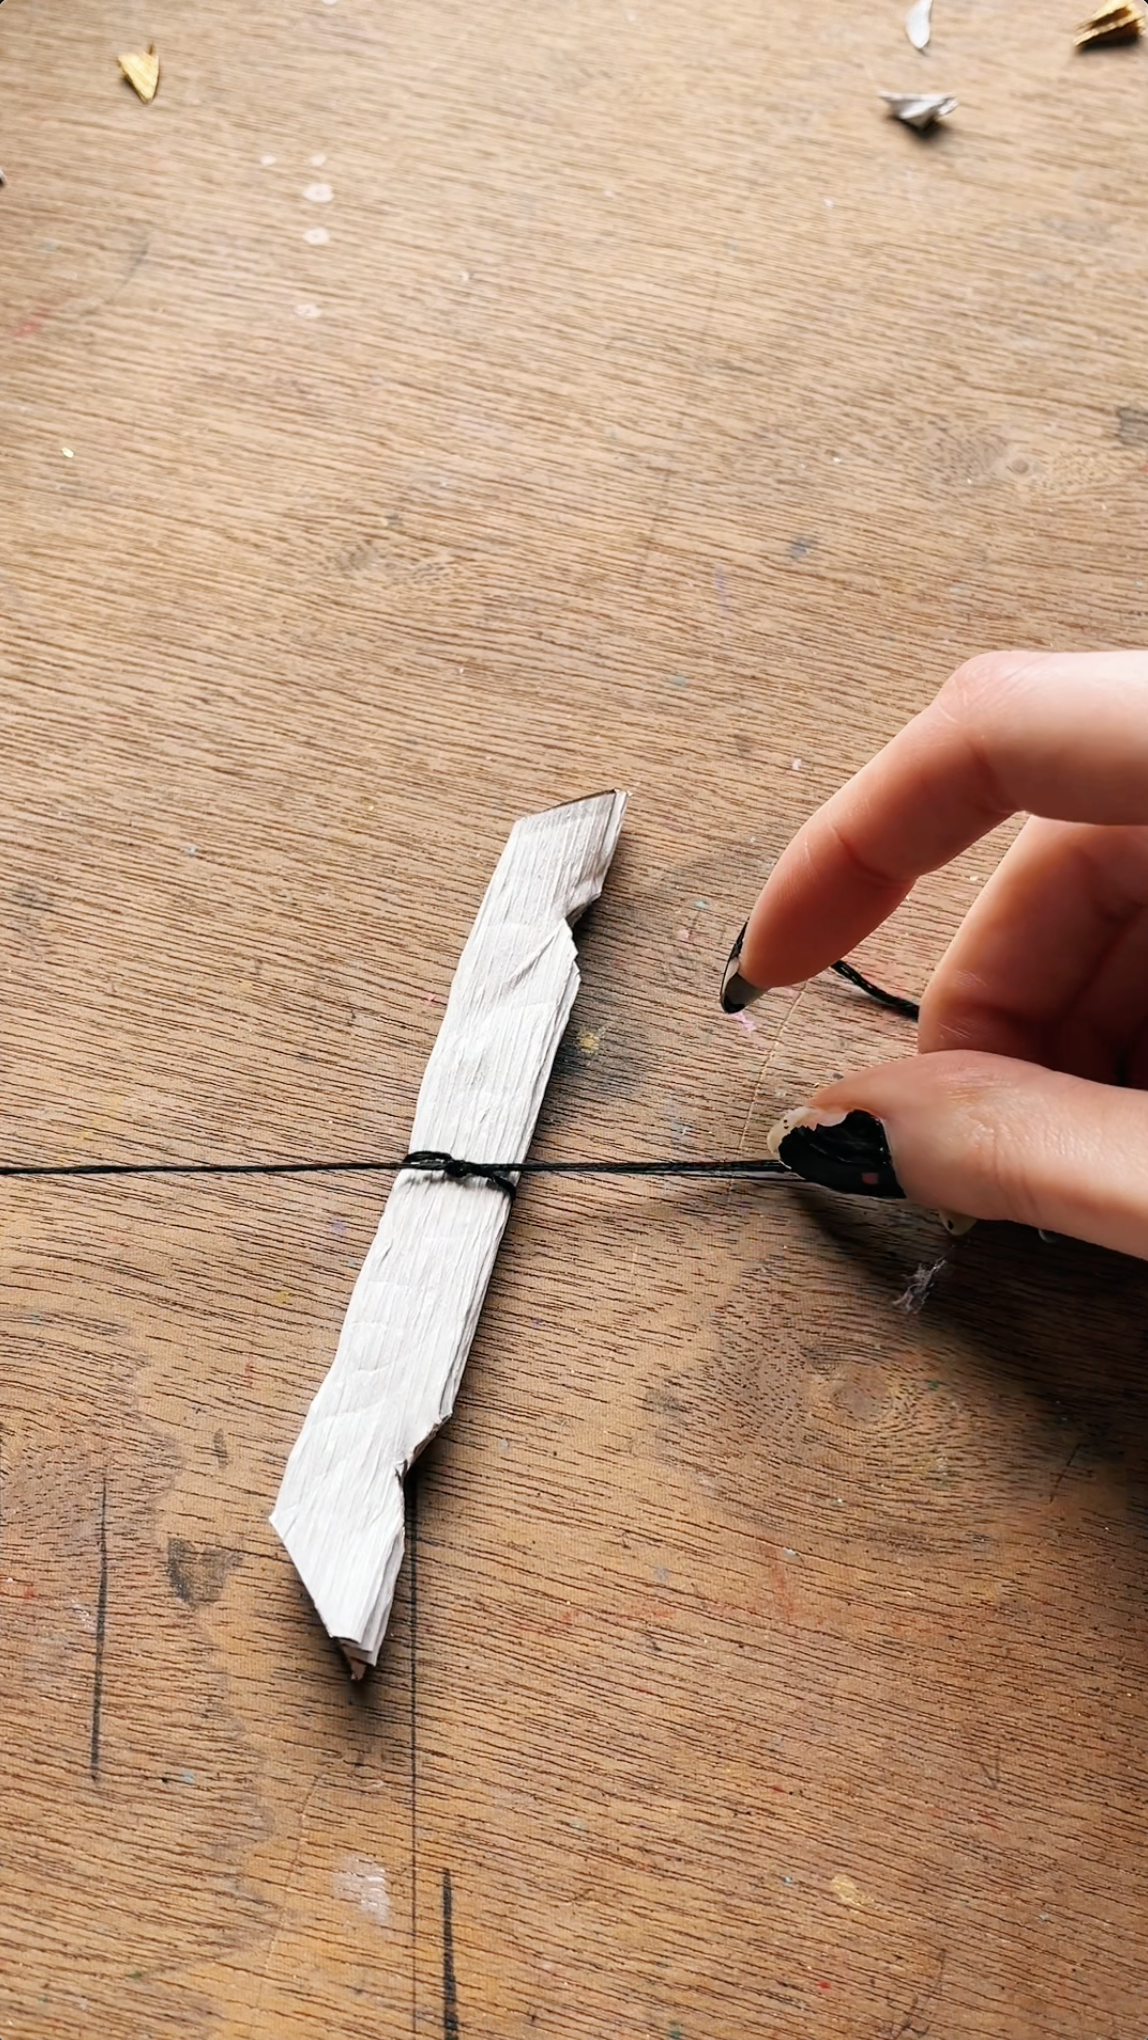
Along the short edge, accordion fold the entire piece, trimming any excess when you get to the end.
Cut triangles off the ends and cutouts along the folds for a decorative look.
Tie a piece of string around the center to pinch the folds, and leave the tails long.
Glue one side, catching the string in between as you adhere the other side of the fan.
This will allow the top of the string to stick out the top and be made into a loop for hanging.
Glue the other side to complete the rosette.
Make another smaller rosette with a different color, following the same steps as before…
…except you can trim the tails of the string after tying it around the middle.
Make a little star out of the first color crepe paper by folding a square into a triangle shape and cutting out another triangle shape from the edge.
Now you have each component completed you can stack them and glue them one by one.
You can make a bunch of these for a garland, or hang them on your Halloween tree.


